The sections below outline the basic operation of the NoiseBadge Reader Unit. For full instructions, please refer to the NoiseBadge user manual.
Resetting and Calibrating the NoiseBadge
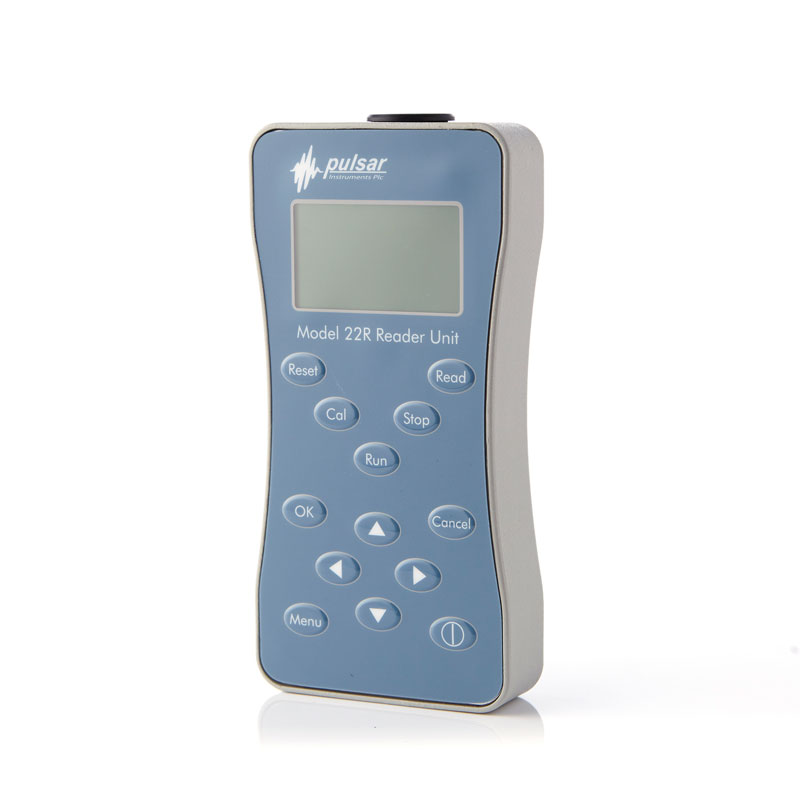
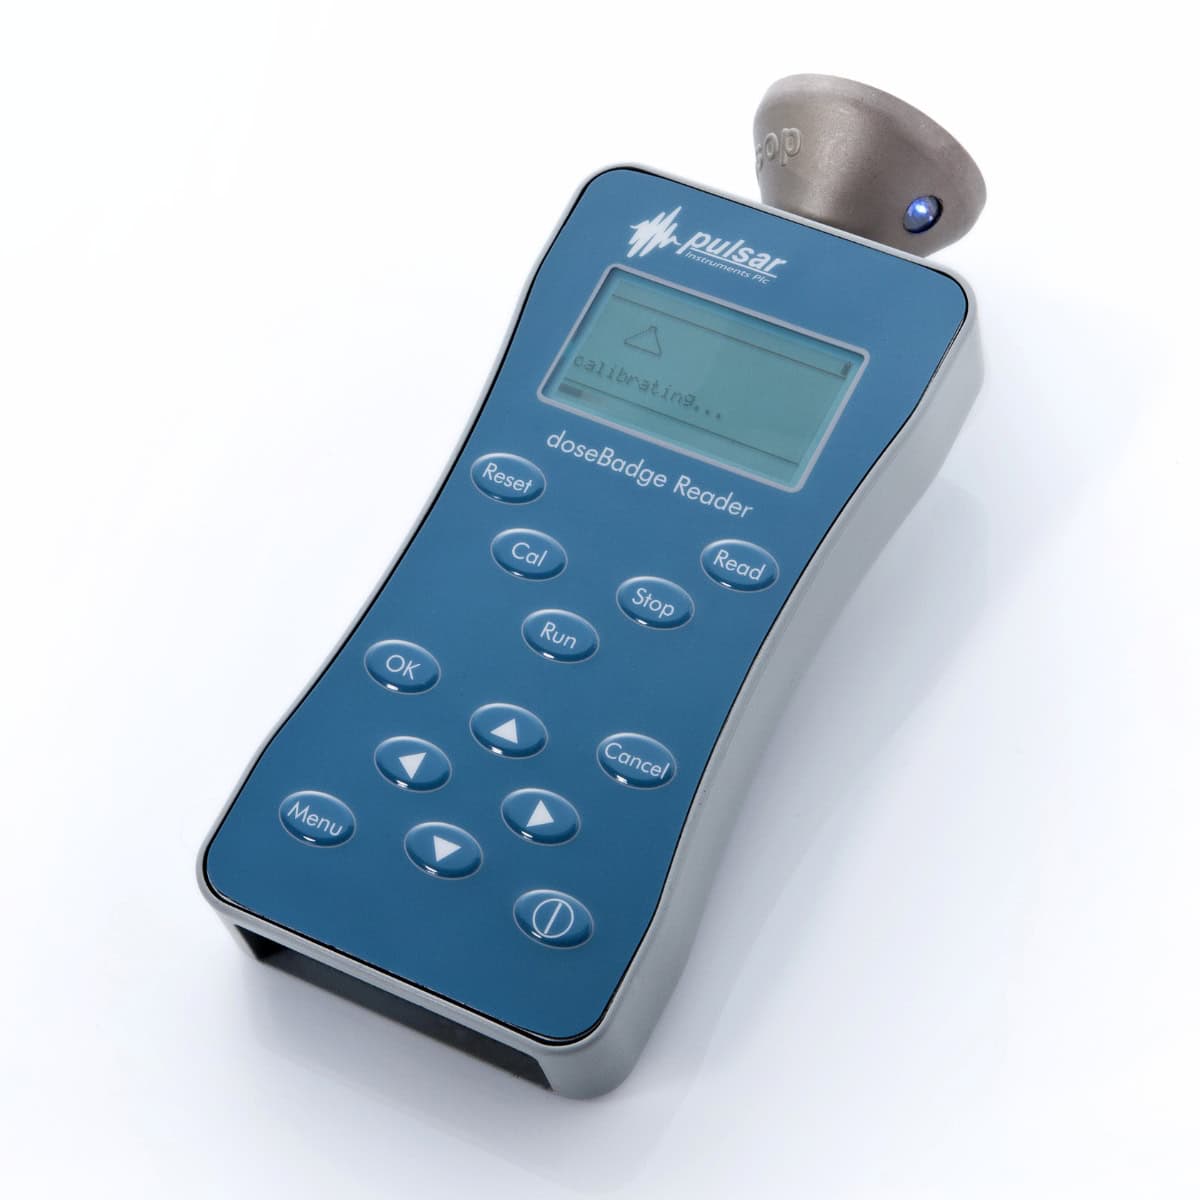
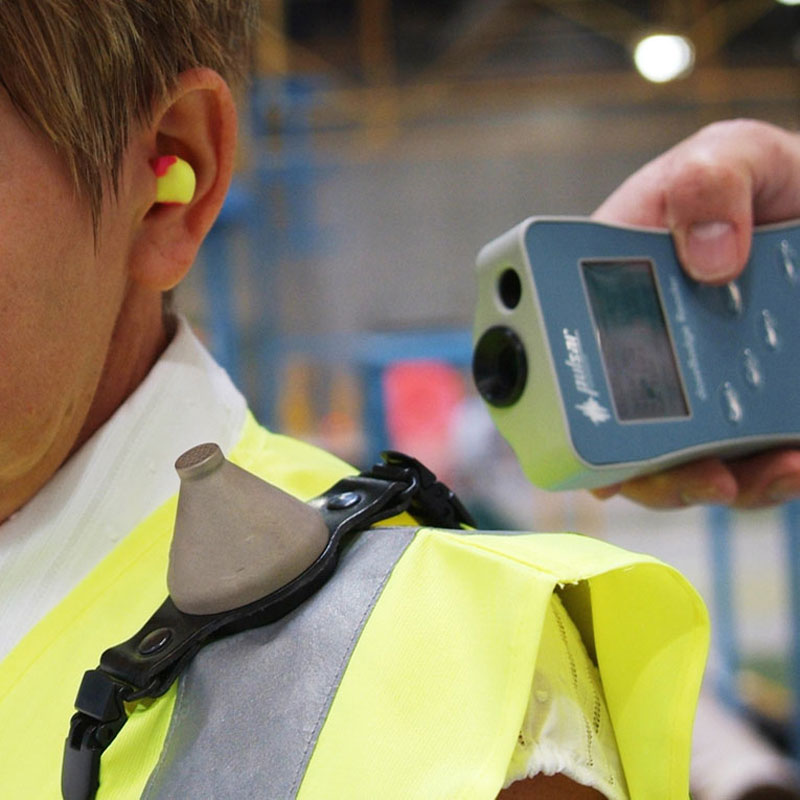
Before and after each measurement, place the badge into the calibrator cavity of the Reader unit, ensuring the infrared window on the NoiseBadge aligns with the window on top of the Reader unit. Press Reset to clear previous data, load the current configuration, and update the date and time. Then press Cal to automatically calibrate the dosimeter and apply any necessary adjustment.
Starting a Measurement
Aim the Reader at the NoiseBadge, ensuring the infrared windows are aligned, and press Run on the Reader. The indicator light on the badge will start flashing to confirm it is actively measuring. The badge will start measuring automatically, recording all key parameters including LAeq, LEP,d, % Dose, and TWA throughout the working period.
Stopping a Measurement
At the end of the shift, aim the Reader at the NoiseBadge, ensuring the infrared windows are aligned, and press Stop on the Reader to end the measurement. The indicator light on the badge will stop flashing to show that the measurement has stopped.
Downloading Data
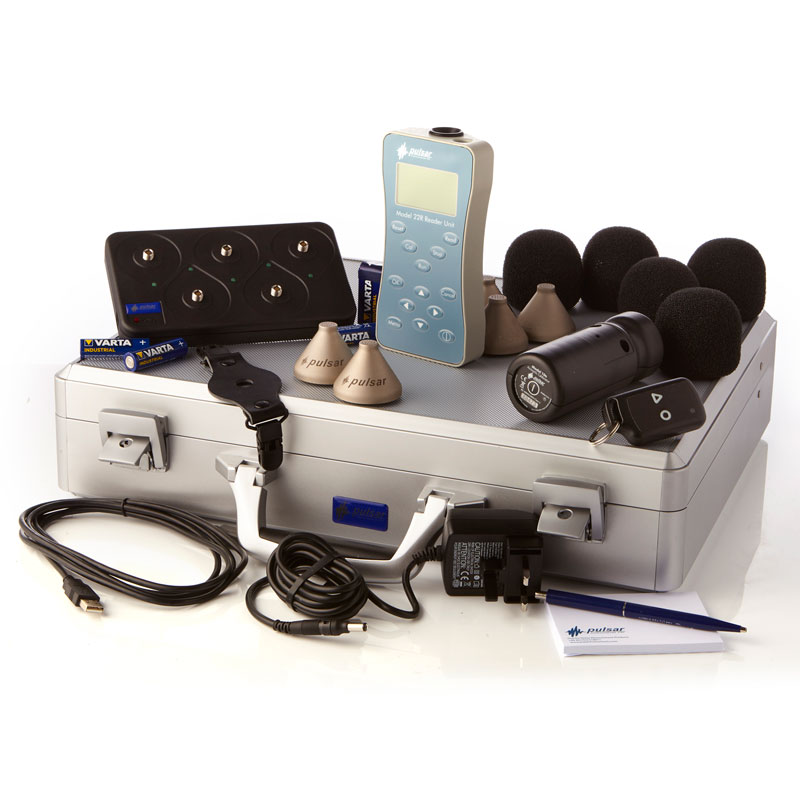
Insert the badge into the calibrator cavity on the Reader and perform a post-measurement calibration. Press Read on the Reader to download the measurement from the badge. Connect the Reader to AnalyzerPlus to download and review your measurements. Reports can be generated directly within AnalyzerPlus, or data can be exported for further analysis. Stored measurements can also be viewed on the Reader’s display, which can hold approximately 768 hours of data from multiple NoiseBadges.


Reviews
There are no reviews yet.